Free SVG to PES & DST Embroidery Conversion Guide (ZigZag v0.1.3)
Last updated:
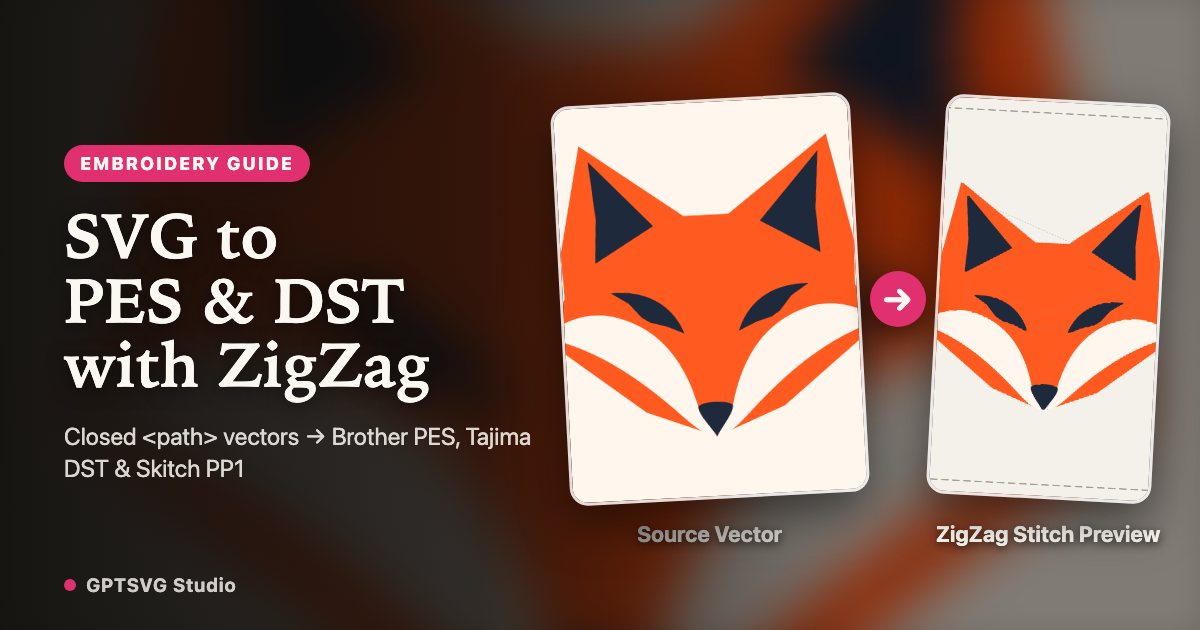
Converting an SVG to PES or SVG to DST embroidery file is not a simple header rename—an embroidery machine needs physical millimeter coordinates, underlay passes, pull compensation, stitch angles, and jump trims. Because GPTSVG Studio runs no in-browser stitch digitizer, we benchmarked our closed-path vectors inside the free open-source desktop app ZigZag v0.1.3 (Apache-2.0 Rust stitch editor) on a 100×100 mm Brother 4×4 profile to document every pitfall, stitch count, and SVG prep rule before you hoop fabric.
Sample native SVG outputs

1. Why SVG to PES/DST requires stitch digitizing (and where ZigZag fits)
Most free “SVG to PES converter” pages fail makers for one of two reasons: either they wrap a raster bitmap inside an <svg> tag that digitizers cannot read, or they dump unscaled curves into legacy plugins without underlay or pull compensation. Historically, clean SVG-to-embroidery conversion meant either learning Ink/Stitch inside Inkscape or paying $600–$1,200+ for commercial digitizing suites like Hatch or Wilcom.
ZigZag (v0.1.3, Apache-2.0 license) takes an SVG-native approach: SVG is its source document. Closed <path> fills compile into angled Tatami fill rows with automatic underlay, wide strokes compile into Satin columns, and stitch parameters live directly inside standard SVG <g id> / <path id> tokens and a root data-zigzag attribute so your vector stays editable round-trip.
ZigZag runs on macOS 11 or later (Apple Silicon and Intel; a signed and notarized DMG, or brew install --cask simpsoka/zigzag/zigzag), on 64-bit Windows 10 version 1709+ and Windows 11 (unzip the ZigZag-<version>-x86_64-windows.zip release asset and run ZigZag.exe; SmartScreen asks you to click More info → Run anyway on first launch), and on x86-64 Linux with glibc 2.35 or newer (a tar.gz release asset). No Rust toolchain is needed on any platform. The benchmarks below were run on the macOS build on November 14, 2026.
2. Live ZigZag v0.1.3 benchmark: stitch counts, trims & 3 hidden SVG pitfalls
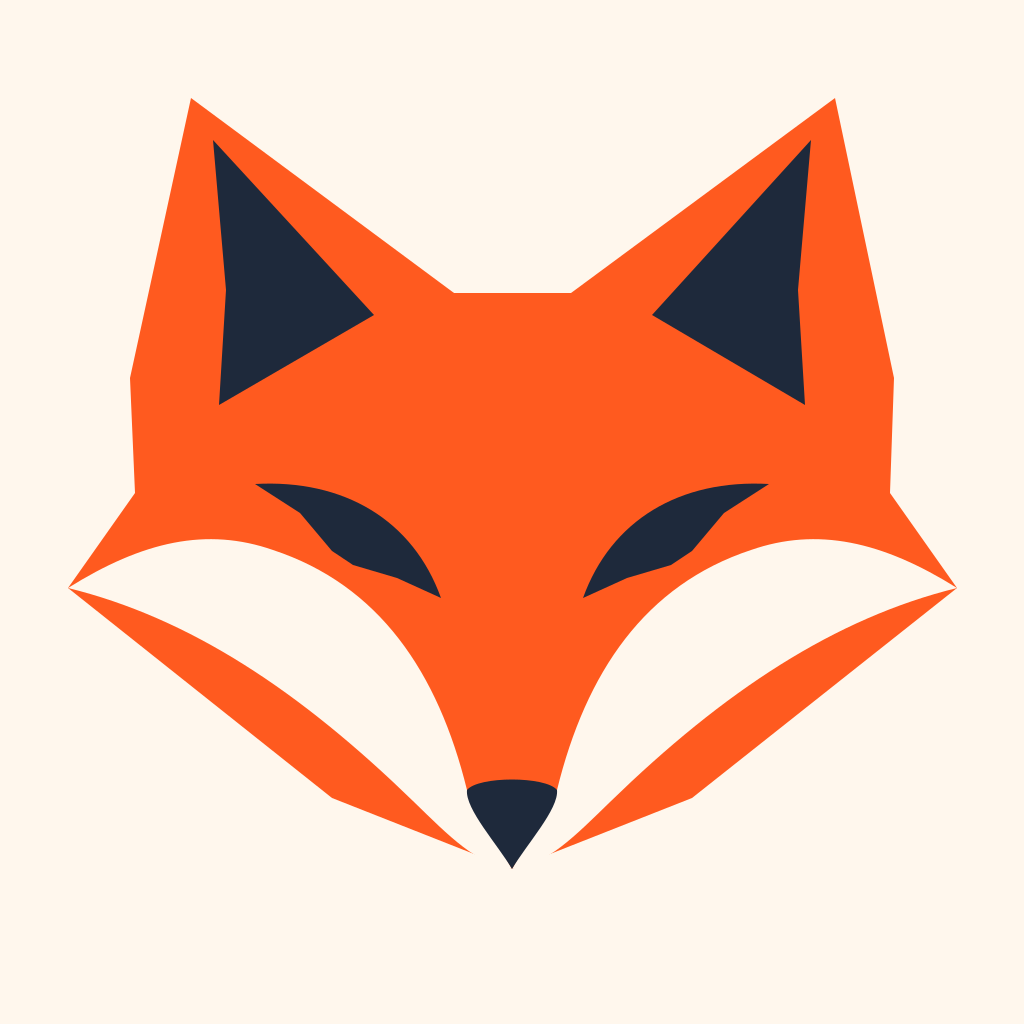
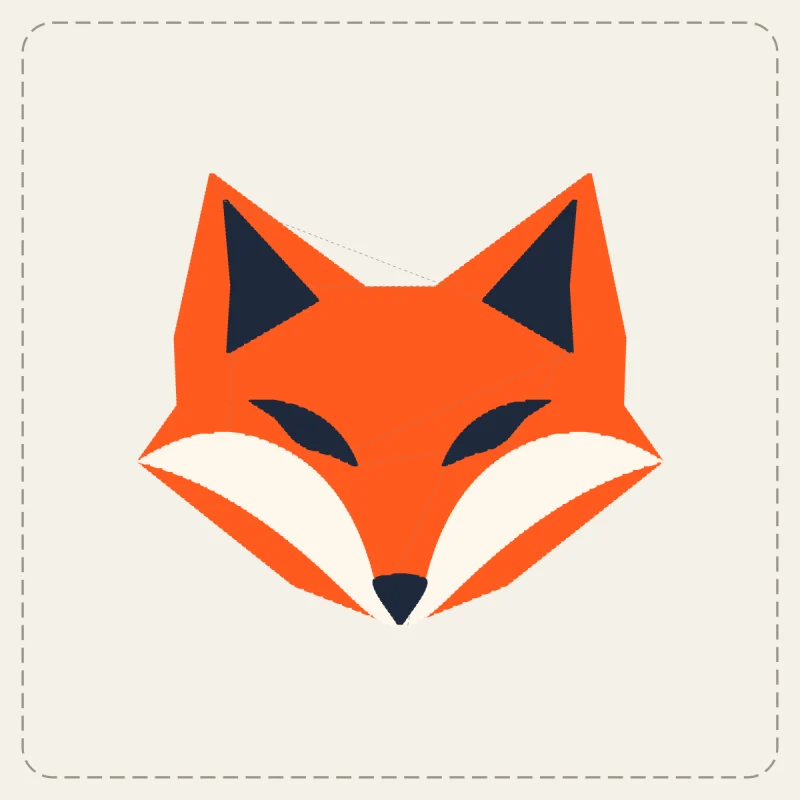
We ran three GPTSVG Studio assets—plus a browser contour-traced PNG of the exact same origami fox—through ZigZag v0.1.3 CLI (--machine brother-4x4, 100×100 mm hoop, Standard twill/denim fabric preset). Three immediate engineering lessons stood out.
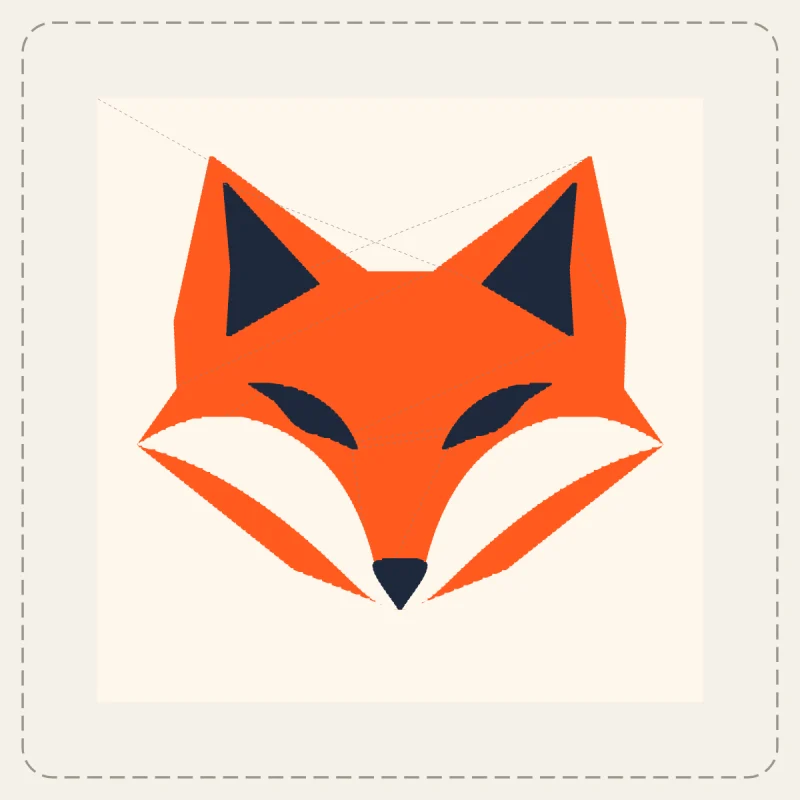
First, a unitless viewBox="0 0 1024 1024" is parsed at 96 DPI as 270.9 × 270.8 mm, exploding to 130,032 stitches and failing the 100×100 mm hoop check. Adding explicit width="80mm" height="80mm" scales it cleanly into the hoop in milliseconds. Second, leaving a full-canvas background <rect> in place wastes 7,580 stitches sewing empty backdrop; deleting that single <rect> cut total stitches by 51.8% (14,623 → 7,043) and thread trims by 41.7% (12 → 7), shrinking the footprint to 69.4 × 59.8 mm so it even fits Brother Skitch PP1’s compact 70×70 mm hoop. Third, native closed-path SVG beat auto-traced PNG contours on the same artwork by eliminating 5 unnecessary thread cuts (12 vs. 17 trims) and planning 3.3× faster (8.6 ms vs. 28.3 ms).
| SVG input tested | Physical size | Stitches | Colors / Trims | Plan time & hoop status |
|---|---|---|---|---|
| origami-fox-logo.svg (raw unitless 1024 viewBox) | 270.9 × 270.8 mm | 130,032 | 5 colors · 18 trims | Fails 100×100 mm hoop check |
| origami-fox-logo.svg (80mm root + bg <rect>) | 80.0 × 79.8 mm | 14,623 | 5 colors · 12 trims | 8.6 ms · Fits 4×4 (1 travel warning) |
| sample-png-free-trace.svg (80mm raster auto-trace) | 80.0 × 79.8 mm | 14,776 | 5 colors · 17 trims (+41.7%) | 28.3 ms (3.3× slower than native SVG) |
| origami-fox-80mm.svg (80mm clean, no bg <rect>) | 69.4 × 59.8 mm | 7,043 (−51.8%) | 4 colors · 7 trims (−41.7%) | 5.7 ms · 0 warnings · Fits 4×4 & 70×70 |
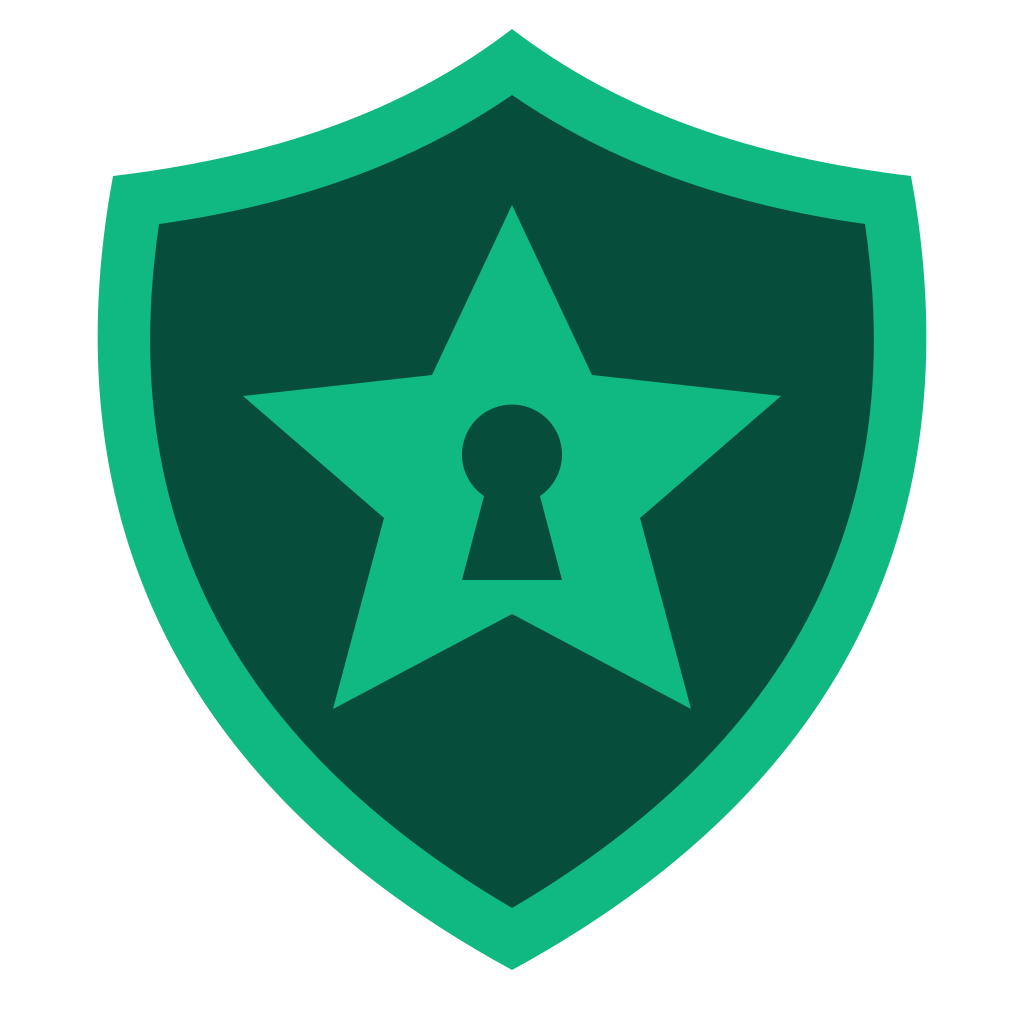
| security-shield-80mm.svg (4-path badge, 668 B) | 64.7 × 73.2 mm | 8,625 | 4 colors · 3 trims | 10.2 ms · 0 warnings · 53 KB .pes / 26 KB .dst |
| luxury-crest-monogram.svg (80mm stroke + fill) | 63.1 × 68.1 mm | 1,924 | 6 colors · 1 trim | 0.5 ms · Satin border + Tatami crown |
3. Prepping clean SVGs & ZigZag layer-ID stitch tokens
Before opening ZigZag Studio or running the CLI, spend 30 seconds prepping your SVG XML. Set explicit physical dimensions on the root element—for example <svg width="80mm" height="80mm" viewBox="0 0 1024 1024">—so your design lands inside standard 100×100 mm (4×4") hoops with safe margin. If you want to keep a visual backdrop for web previews without stitching it, rename that element to id="skip_bg": ZigZag’s skip prefix ignores the shape during stitch planning (yielding 7,052 stitches and 4 colors in our test).
ZigZag also reads human-friendly stitch tokens straight from SVG <g id> and <path id> attributes: prefix or tag layers with fill (such as a=45 for a 45° Tatami stitch angle), satin (such as pc=0.2 for 0.2 mm pull compensation on borders and monograms), run (such as r=3 for a bold triple-bean outline stitch), or skip. Starting from 2–4 flat hex colors and closed <path> geometry in GPTSVG Studio’s Minimal Geometric or Badge presets keeps color stops predictable and prevents microscopic jump splinters.
Only have a PNG or JPEG logo? ZigZag traces raster images itself: zigzag convert logo.png -o logo.pes. Expect more thread trims than from native closed paths. On our 80 mm fox, a browser-traced contour needed 17 trims versus 12 for the native SVG, so regenerate or redraw the artwork as clean vector first when you can.


4. Exporting SVG to Brother .pes
Once your SVG passes hoop validation in the desktop ZigZag app—or via local CLI commands such as zigzag convert origami-fox-80mm.svg -o origami-fox-80mm.pes --machine brother-4x4—select the Brother machine profile that matches your hoop. ZigZag ships built-in .pes targets for brother-4x4 (100×100 mm), brother-5x7 (130×180 mm), brother-pr, and brother-skitch (.pen / .pes), alongside home-machine profiles like janome-550e (.jef).
For a free SVG-to-PES workflow, follow the 80mm root sizing and background-cleanup steps above before running ZigZag on your computer—GPTSVG Studio does not convert or export .pes files in the browser. Brother .pes binaries embed PEC thread palette indices alongside stitch coordinates (44 KB for our 7,043-stitch fox and 53 KB for the 8,625-stitch shield), so Brother and Baby Lock screens display approximate thread colors immediately.
5. Exporting SVG to Commercial Tajima .dst
For commercial multi-needle machines, run desktop ZigZag with a Tajima .dst target such as zigzag convert origami-fox-80mm.svg -o origami-fox-80mm.dst --machine commercial-dst (or zsk-sprint-8 for ZSK, plus melco-summit for .exp). Just like .pes, .dst compilation happens offline inside ZigZag v0.1.3 rather than in a browser converter.
Commercial Tajima .dst files are roughly half the byte size of .pes (22 KB vs. 44 KB for the 7,043-stitch fox, and 26 KB vs. 53 KB for the 8,625-stitch shield) because the .dst specification stores only X/Y needle movements, jump trims, and STOP color-change commands—no RGB hex colors. Embroidery viewers that count every header/stop record report slightly higher totals (ST: 7190 for the fox and ST: 8715 for the shield), and on multi-needle heads you assign physical thread cones to each color stop on the machine panel.
6. Direct Bluetooth upload to Brother Skitch PP1 & test-sew checklist
One standout feature for home makers is ZigZag’s built-in brother-skitch profile for the single-needle Brother Skitch PP1. Instead of routing custom SVGs through mobile cloud subscriptions, ZigZag validates your artwork against both the 100×100 mm hoop and the smaller 70×70 mm magnetic hoop, converts stitches into Brother’s .pen wire stream, and transmits directly over Bluetooth Low Energy (BLE) from your desktop.
Important physical stitch-out note: the WebP previews on this page are real ZigZag v0.1.3 stitch simulations—not photographs of physical cloth. Thread under tension pulls fabric inward along the stitch angle and pushes outward perpendicular to it. Before stitching a jacket or cap, select the matching ZigZag fabric preset (standard for twill/denim patches, knit with cutaway stabilizer plus water-soluble topper for hoodies/tees, thin-cap, or structured-cap), keep Satin columns between roughly 1.5 mm and 7 mm wide (convert wider shapes to Tatami fill so loops cannot snag), and always run one test sew on scrap fabric with matching backing.
7. Free downloadable 80mm SVG + PES + DST benchmark test pack
Want to inspect the exact stitch files on your own machine or embroidery viewer before creating a custom design? Download either unedited 80mm test trio below—generated directly from GPTSVG Studio native vectors with ZigZag v0.1.3 (--machine brother-4x4, Standard twill/denim preset)—and always test-sew on scrap fabric with proper stabilizer first.
Stitch counts on this page are ZigZag’s planned stitch points. Embroidery viewers that count every record in the file report slightly higher totals: the .dst headers read ST: 7190 for the fox and ST: 8715 for the shield.

FAQ
Can GPTSVG Studio export .pes or .dst embroidery files directly in the browser?
GPTSVG Studio authors clean, closed-path XML .svg files (zero embedded bitmaps, 2–4 flat hex colors) that serve as ideal vector input for embroidery digitizers. To compile physical underlay, pull compensation, and Brother .pes or Tajima .dst machine binaries for free, open your .svg in ZigZag (zigzag.diy) or Ink/Stitch.
Why did my 1024×1024 SVG import at 271 mm and fail the 4×4 hoop check?
Unitless SVG viewBox="0 0 1024 1024" coordinates are interpreted at 96 CSS pixels per inch (270.9 × 270.8 mm), which overflows a 100×100 mm (4×4") hoop and explodes stitch counts past 130,000. Add explicit millimeter attributes such as width="80mm" height="80mm" to the root <svg> tag—or scale inside ZigZag Studio—before exporting .pes or .dst.
Why do my thread colors look wrong when I preview a .dst file?
That is normal for the Tajima .dst specification. Unlike Brother .pes (which embeds a PEC thread color header), commercial .dst files only store X/Y needle coordinates, jump trims, and STOP color-change commands without RGB values. Embroidery viewers assign placeholder colors to .dst stops until you map cones on your machine.
Why do native closed-path SVGs sew cleaner than auto-traced PNGs?
Raster auto-tracers often leave anti-aliased edge splinters and fragmented sub-paths that trigger extra jump stitches and thread cuts. On our 80mm origami fox benchmark, native GPT Image 2.6 closed-path SVG reduced thread trims from 17 down to 12 (and down to 7 once the background rect was removed) while planning 3.3× faster.
Does ZigZag work with Brother Skitch PP1 without a subscription?
Yes. ZigZag v0.1.3 includes a dedicated brother-skitch machine profile covering both 100×100 mm and 70×70 mm hoops and can send .pen stitch streams directly to a Brother Skitch PP1 over Bluetooth Low Energy (BLE), while also exporting standard .pes files for USB Brother machines.
Can I convert a PNG to a PES file for free?
Yes. ZigZag accepts PNG and JPEG input and traces it into vector shapes before stitching (zigzag convert logo.png -o logo.pes). Traced edges usually cost extra thread trims: on our 80 mm fox benchmark a browser-traced contour needed 17 trims versus 12 for the native closed-path SVG, so starting from a clean SVG gives a cleaner sew-out.
Ready to ship clean, editable SVG vectors?
Generate your first SVG